Before edit the pic with Adobe Photoshop (PS), get ready few photographs according to our sketching.
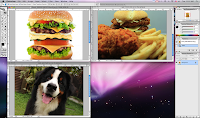
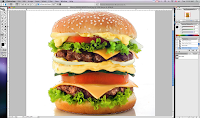
1 • Use [Magic Wand Tool (W)] and select the white background. PS will auto select the white background.
2 • Go to SELECT > INVERSE. PS will select the burger.
3 • After select the burger, go SELECT > FEATHER (use feather effect for more natural effect to the object). Minimize and keep this photo one side, and continue with other photos.
4 • Same steps for the next photo but the photo is not white background. Then use [Magnetic Lasso Tool (L)] and select which area that we want for our project.
5 • After select the object that we want, go to SELECT > FEATHER.
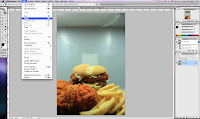
6 • Go EDIT > COPY > EDIT > PASTE to create a new layer for the object.
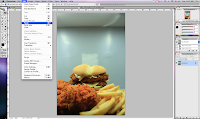
7 • Open the first photo and drag the selection object into the 2nd photo. It will create another layer for the object. Minimize and keep it one side.
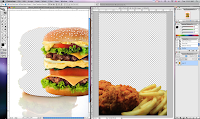
8 • Go EDIT > FREE TRANSFORM to rotate the photo.
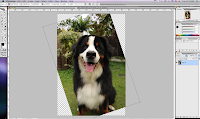
9 • The dog is fluffy and hairy. Use [Eraser Tool (E)] with hardness 0% to create an outline for the dog.
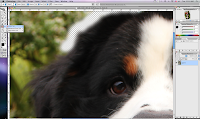
10 • This is the easiest way to maintain the fluffiness of the dog and looks more natural.
11 • After that, select the dog with [Lasso Tool (L)] and draw around the erased area. PS will select the dog.
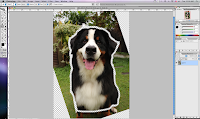
12 • Drag the selection image to the previous photo and you will see all the 3 photos in the same file but different layers.
13 • Edit the object size with EDIT > FREE TRANSFORM
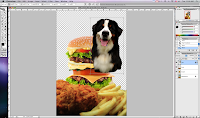
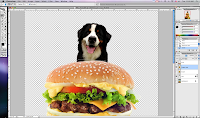
14 • For the hat of the dog, select Burger Layer and use [Lasso Tool (L)] to draw the shape of the hat.
15 • EDIT > CUT > EDIT > PASTE will create another layer for the hat. (Not advice to Paste it to the same layer because it will be troublesome if edit the hat or burger later.)
16 • Create a new layer for the background. Change the foreground color to Blue, and remain the background color as White.
17 • Go FILTER > RENDER > CLOUDS for the cloud effect.
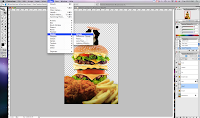
18 • The clouds is too stiff and not natural. Create another new layer and apply [GRADIENT (G)] to the new layer.
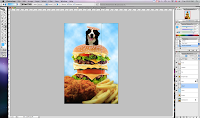
19 • At the Layer window. Select the Gradient Layer and change it to OVERLAY.
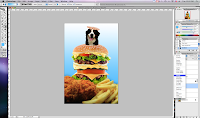
20 • To create dreaming effect. Save the entire project to another file name.
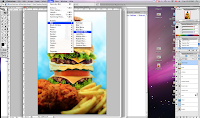
21 • Merge all the layers to be one complete photo. Go FILTER > BLUR > GAUSSIAN BLUR and adjust the radius level.
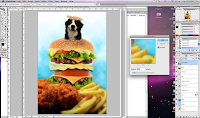
22 • Drag the new blur layer into existing layers file and place it on top of all layers.
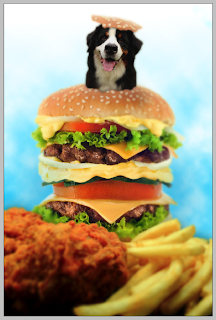
23 • Use [ERASE TOOL (E)] with 0% hardness and 50% flow to erase the blur layer, so the other layers at the back will appear.
TIPS :
i • Adobe Photoshop only allow one step UNDO from the shortcut key (COMMAND + Z). Allow to check and undo from the History window but up to 20 steps.
ii • Always duplicate another layer if not sure with the PS effect. At least a back up layer still around if not satisfy with the effects and colors.


3 comments:
good tips, thanks.
hi, just to share some info..
1. if u want to undo more than 1 steps.. press ctrl+alt+z
2. u can change the history states list, if u want to see more than 20 steps.. go to edit --> preferences --> performances.. then change the history states
tnx... cool... learned new shortcut key. haha
but i cant change my history states.... maybe i use old PS CS2 and Mac system.
so glad that someone dont mind share the new tips... :)
Post a Comment